If a beehive needs a new queen and another beehive has a closed queen cells, you can choose one or, even better, two good queen cells, cut them along with a small piece of honeycomb, on which they are placed and put them in the beehive that needs a new queen.
More info about queen cells you can find here: Queen Cells, and Three Kinds Of Queen Cells.
Introduce the queen cell into the beehive only if you are sure that the beehive is missing a queen, otherwise the bees will destroy it.
The bees make the best queen cells during the good honey flow, because that is when the worker bees produce plenty of royal jelly, so the larvae are well fed.
Queen cells which are made during the dearth are usually of bad quality because worker bees don't produce much of royal jelly, therefore the larvae eat less.
Accepting the queen cell
Bees will recognize that introduced queen cell is not their own and they will try to destroy it.
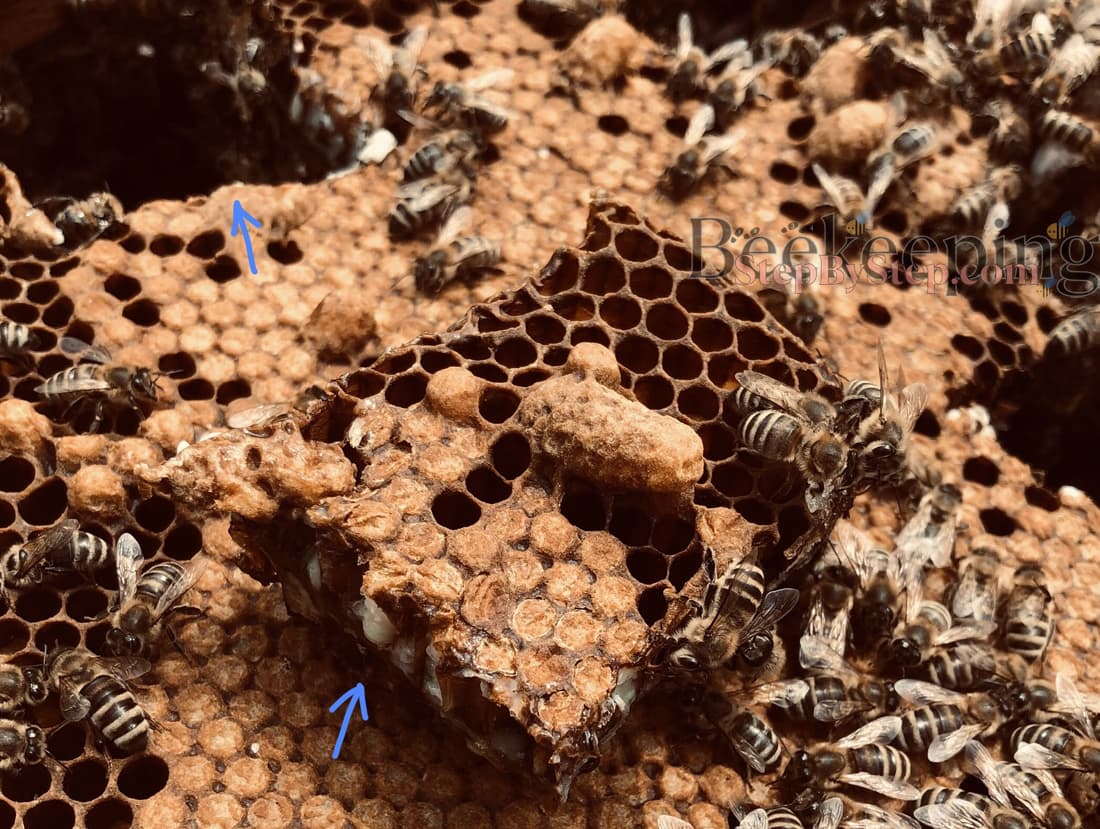
If the bees want to destroy the queen cell, they will do that by chewing out the side of the cell.
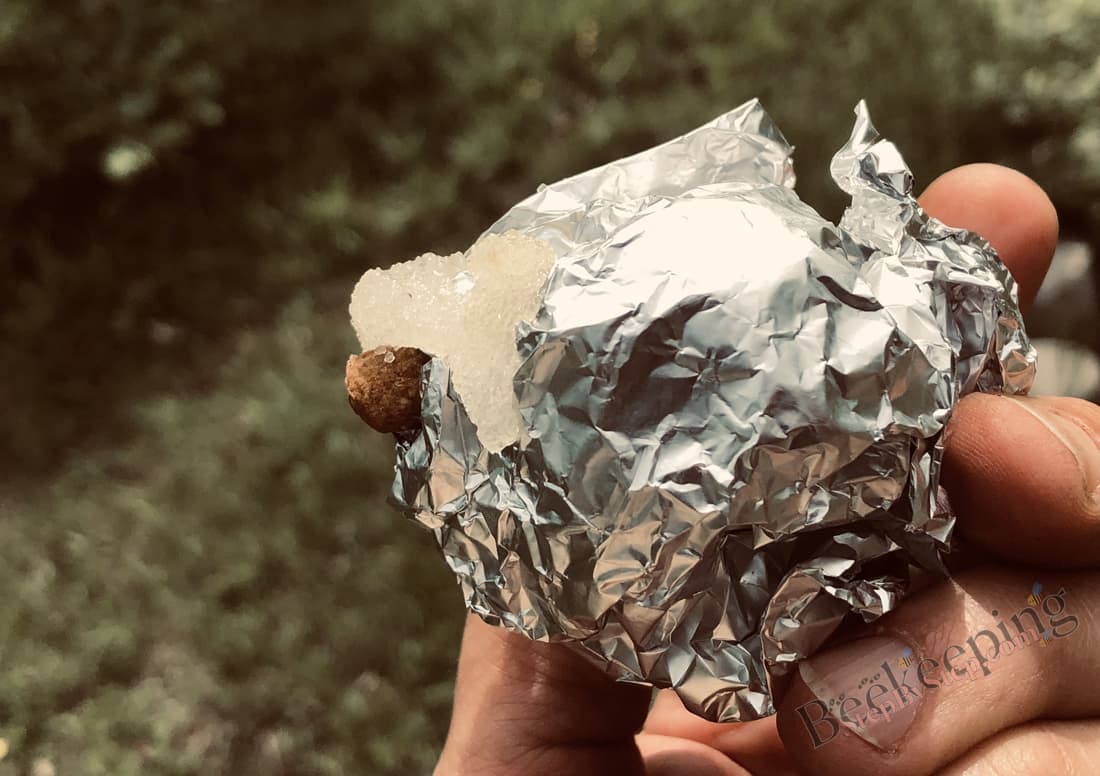
![]() This is why you should put the queen cell in special cage for queen cell or wrap it up in aluminum foil.
This is why you should put the queen cell in special cage for queen cell or wrap it up in aluminum foil.
![]() It is also helpful to coat that protected queen cell with honey.
It is also helpful to coat that protected queen cell with honey.
The honey from the hive in which you are placing the queen cell is the best solution. Or you can use honey you harvested but don’t use bought honey because of the possible diseases.
By protecting the queen cell you are disabling the bees to chew out the side of the queen cell. And by licking the honey, bees will equalize the scents and thus accept it more easily.
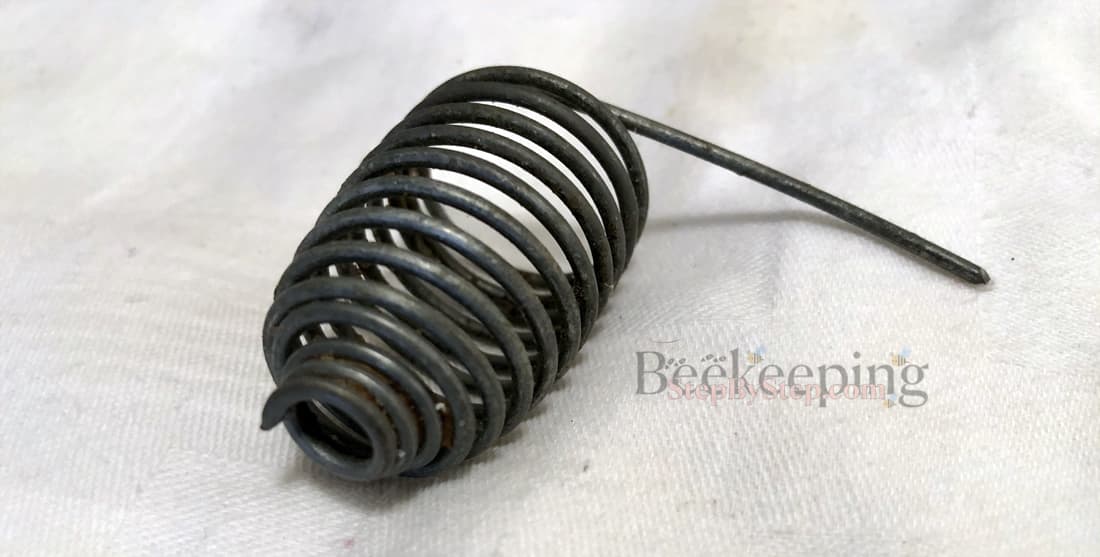
Queen cell cage is made in a particular way to disable the bees to access the queen cell from the sides, so they cannot destroy it. But the top of the queen cell remains unprotected so that the new queen can come out.
The chances of bees destroying the queen cell from the top are very slim.
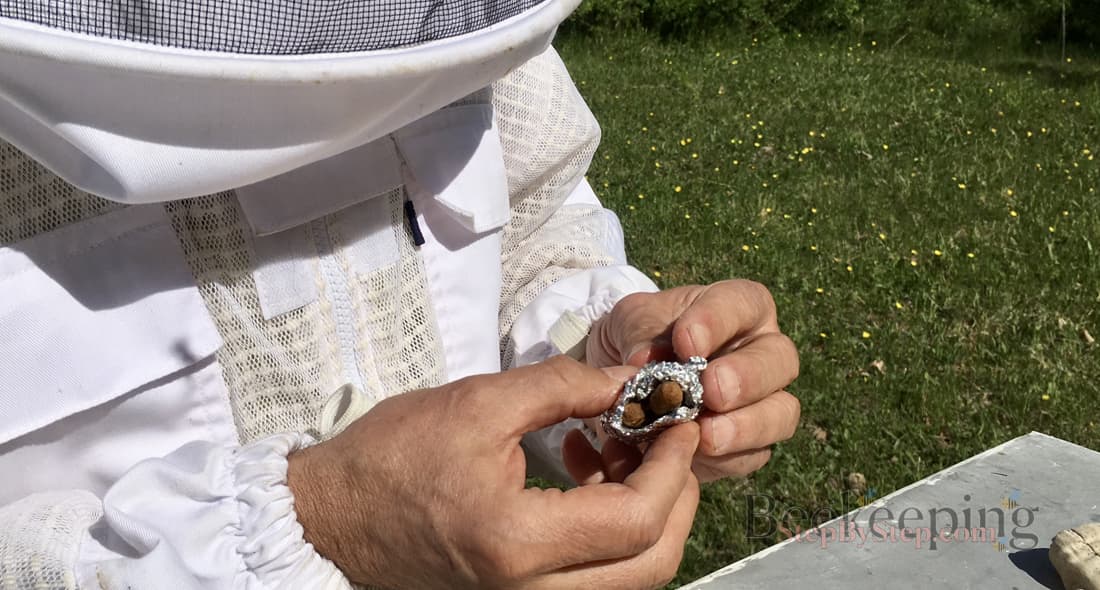
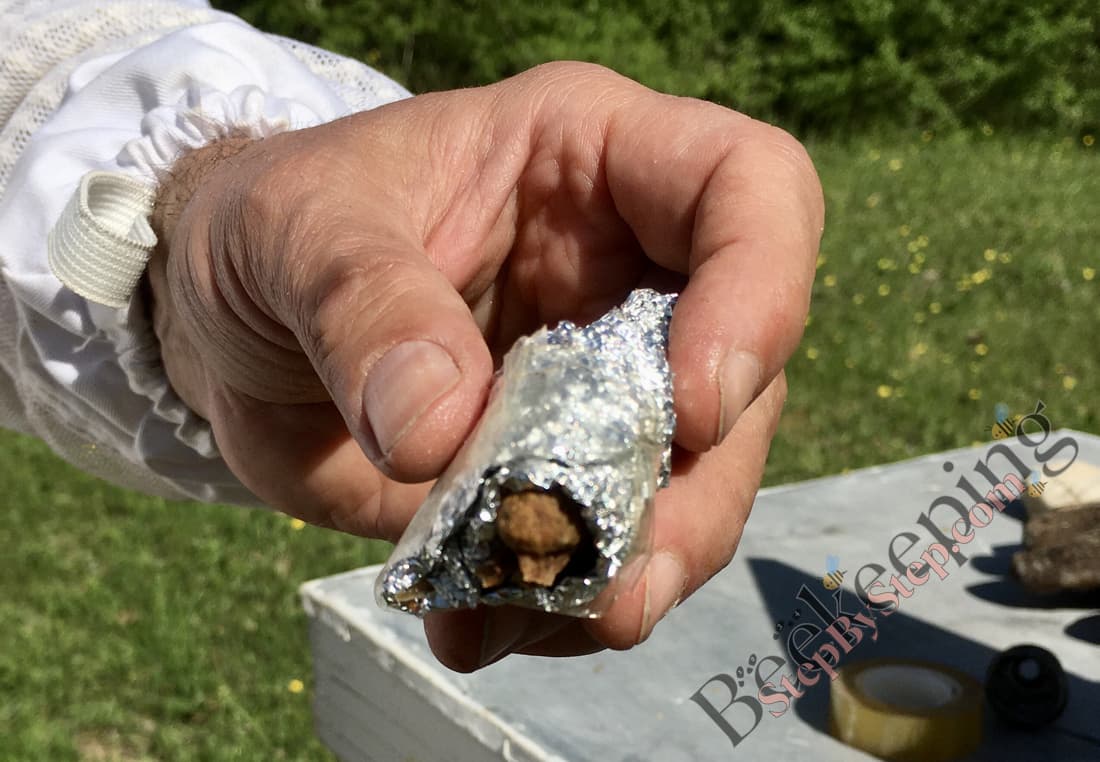
If you don't have a queen cell cage or if the queen cell on the honeycomb is located on an awkward place which makes it difficult to place it in the cage, wrap the queen cell in the aluminum foil, leaving only the top uncovered.
Introducing a mature queen cell – steps:
Beekeeping equipment and supplies you will need:
- Beekeeping suit
- Beekeeping gloves
- Beekeeping smoker
- Hive tool
- Sharp knife
- Aluminum foil or queen cell cage
- Beehive at your apiary that has closed mature queen cells
Taking the mature queen cell from another beehive - step by step:
1Open the hive with the queen cells.
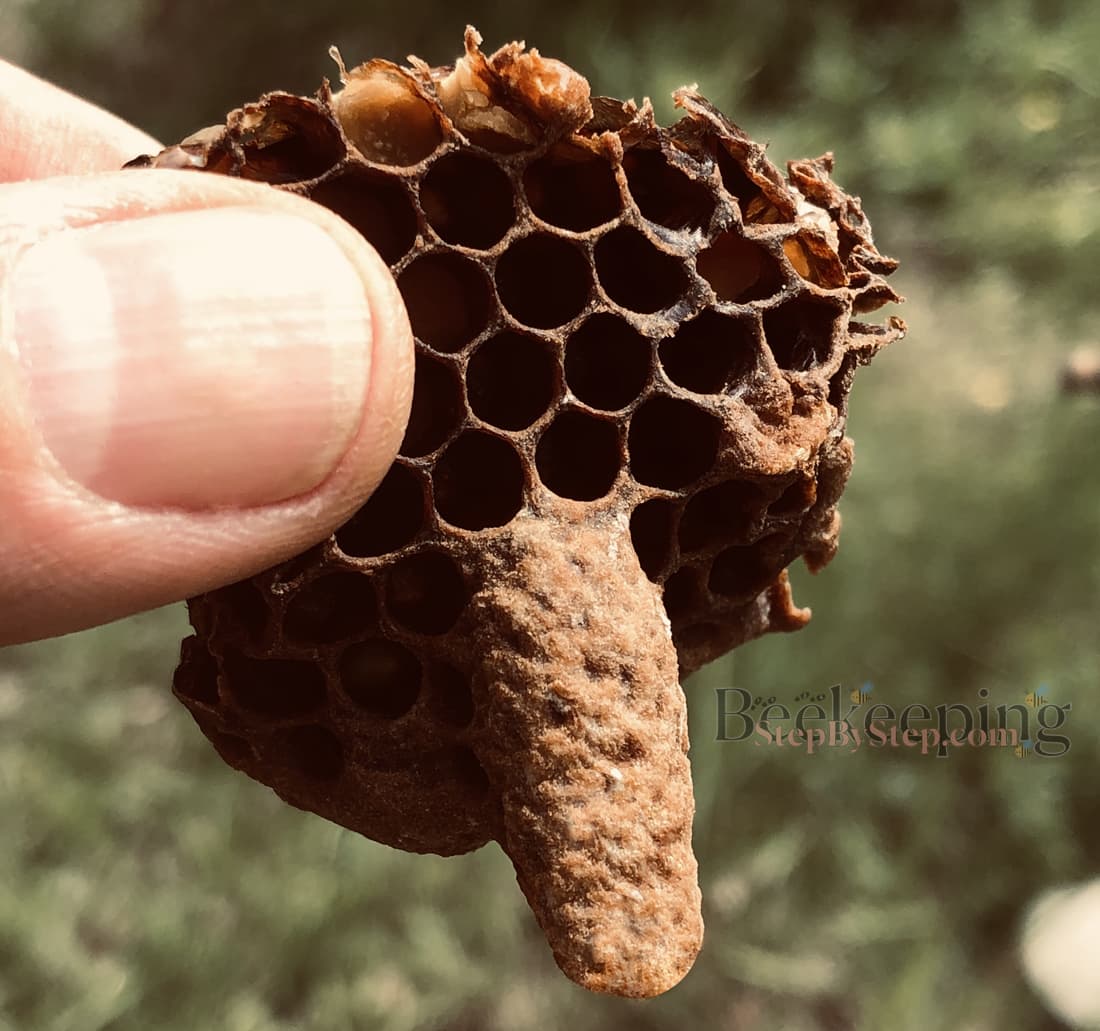
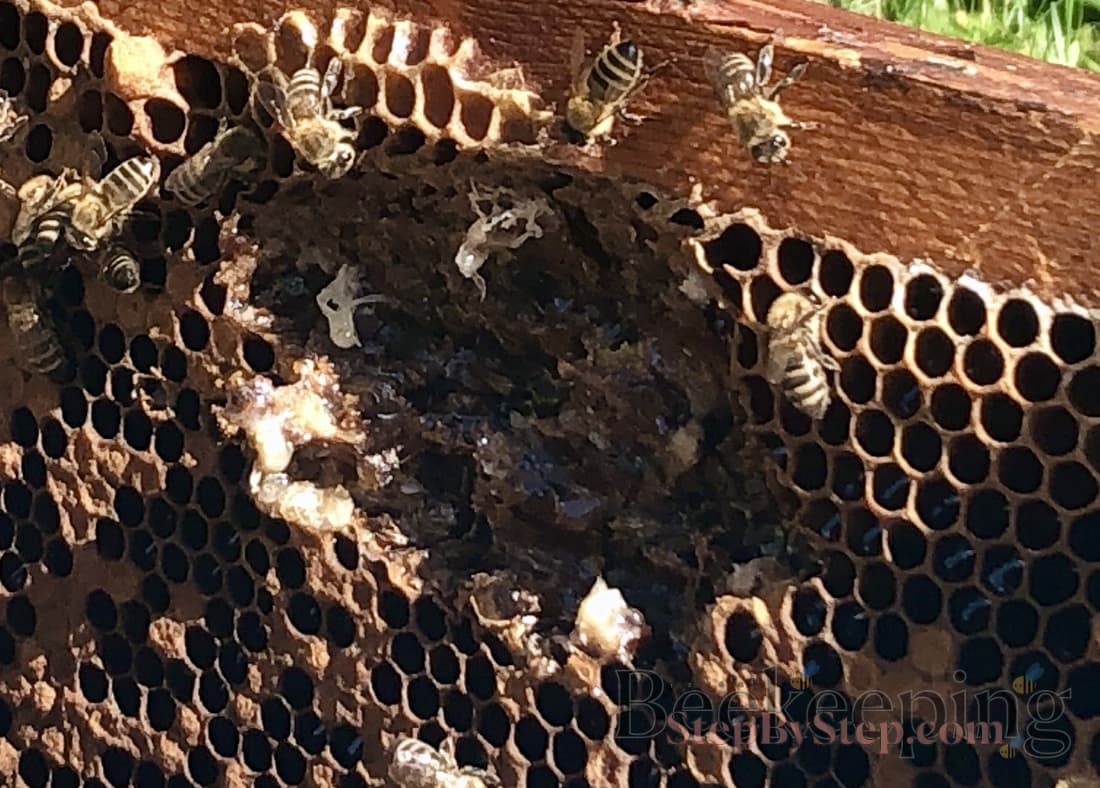
2Find a nice looking mature queen cell - look through the frames and pick a nice, big, closed queen cell. The queen cell should be older - a just closed queen cell is delicate and it is easy to damage it, older queen cells have thicker and stronger walls and they are grainy on the surface.
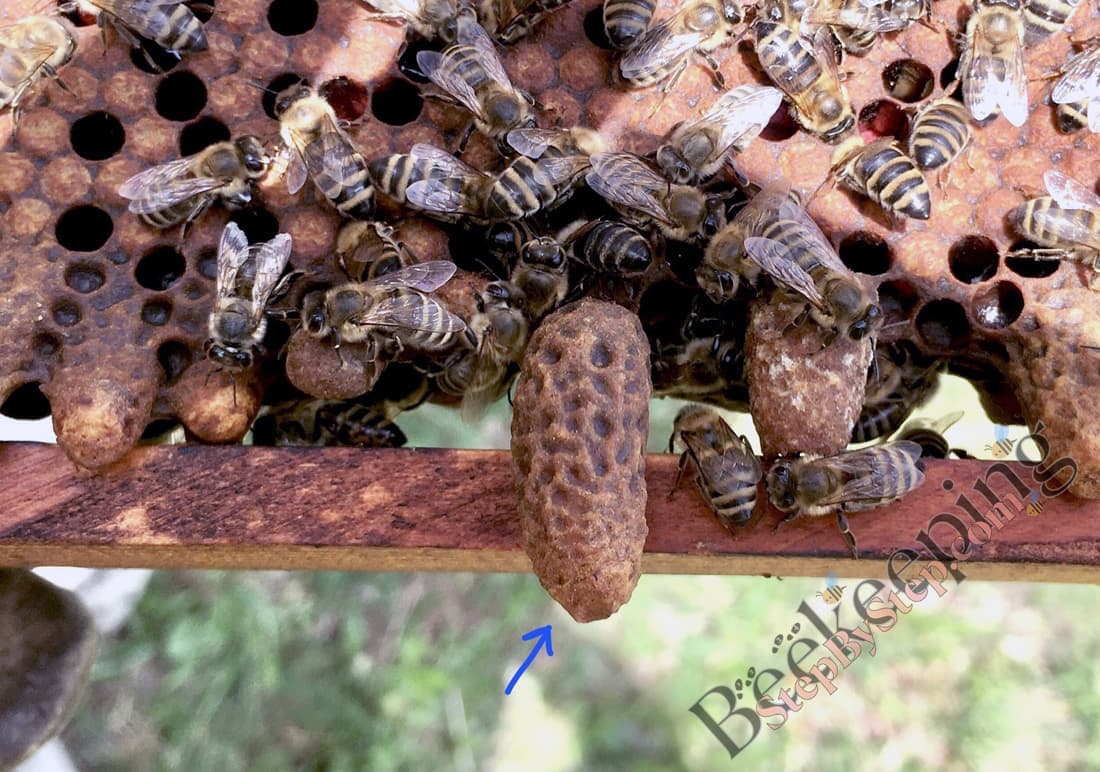
Older queen cell is recognizable by its rough surface.
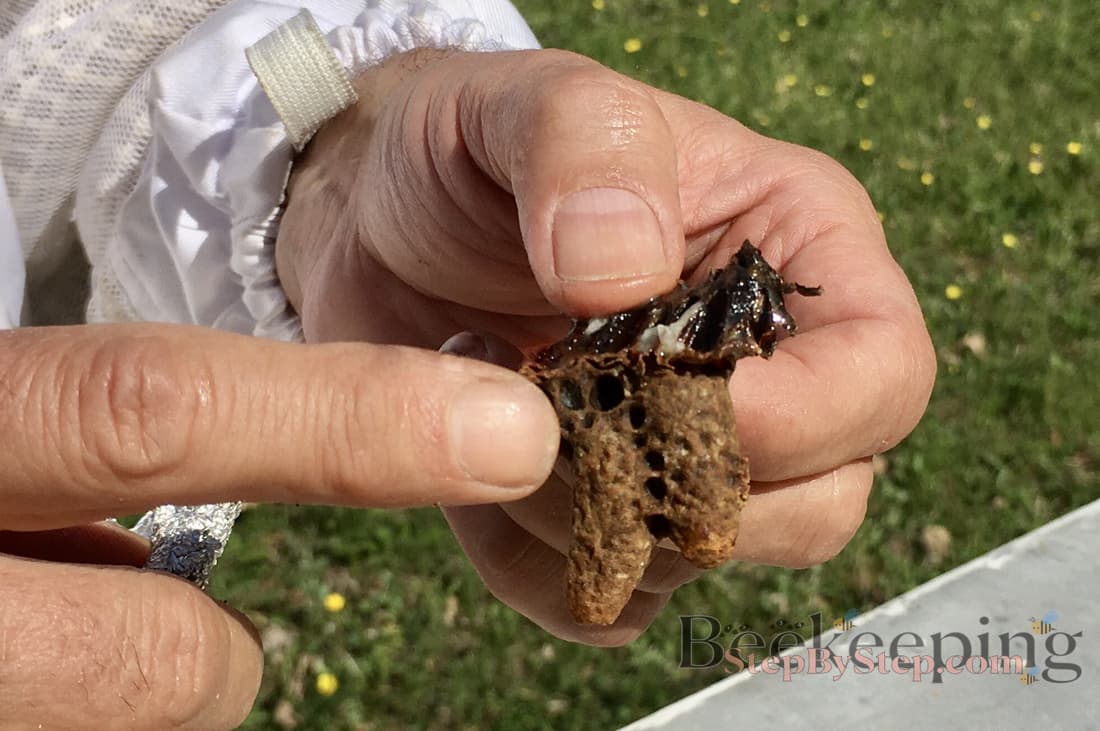
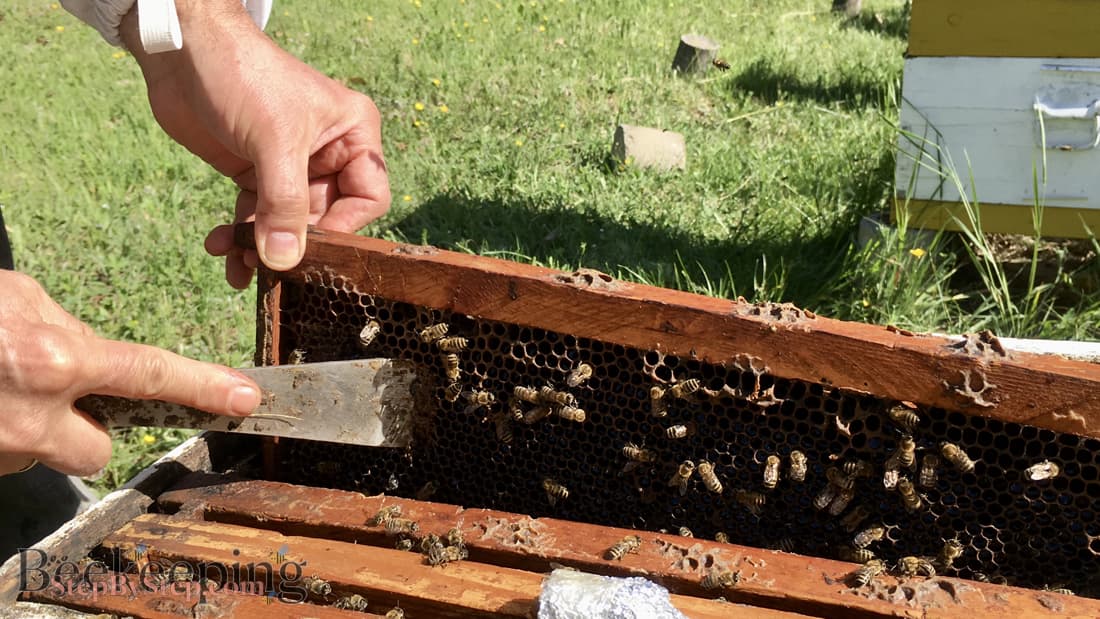
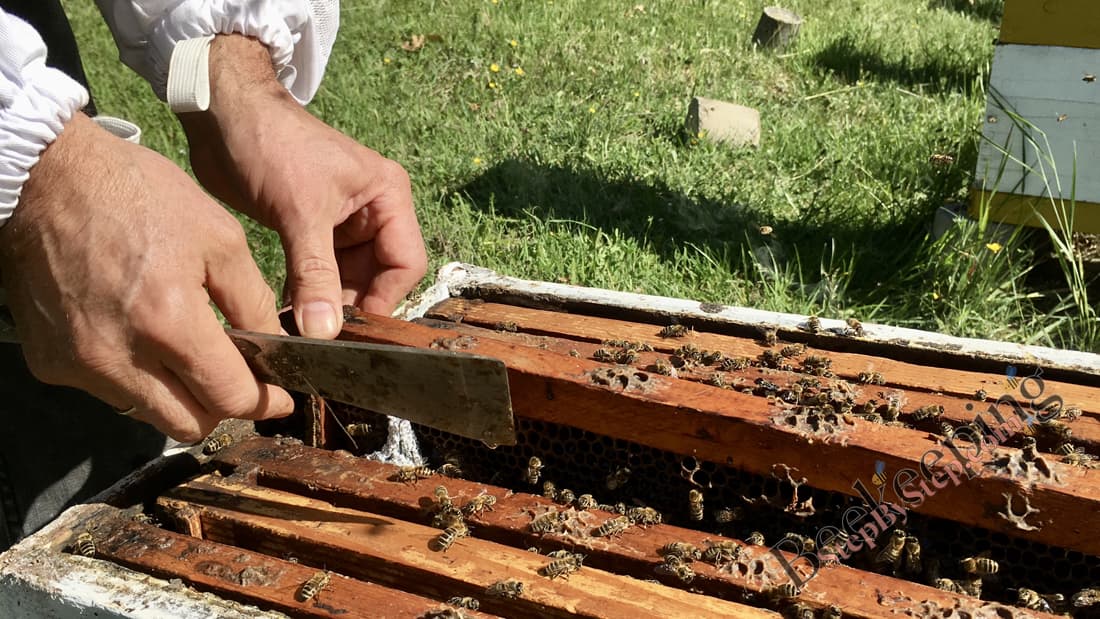
3Cut out the queen cell from the honeycomb - using the sharp knife, cut out small piece of the honeycomb on which the queen cell is located. If you happen to damage the queen cell, choose another one and try again.
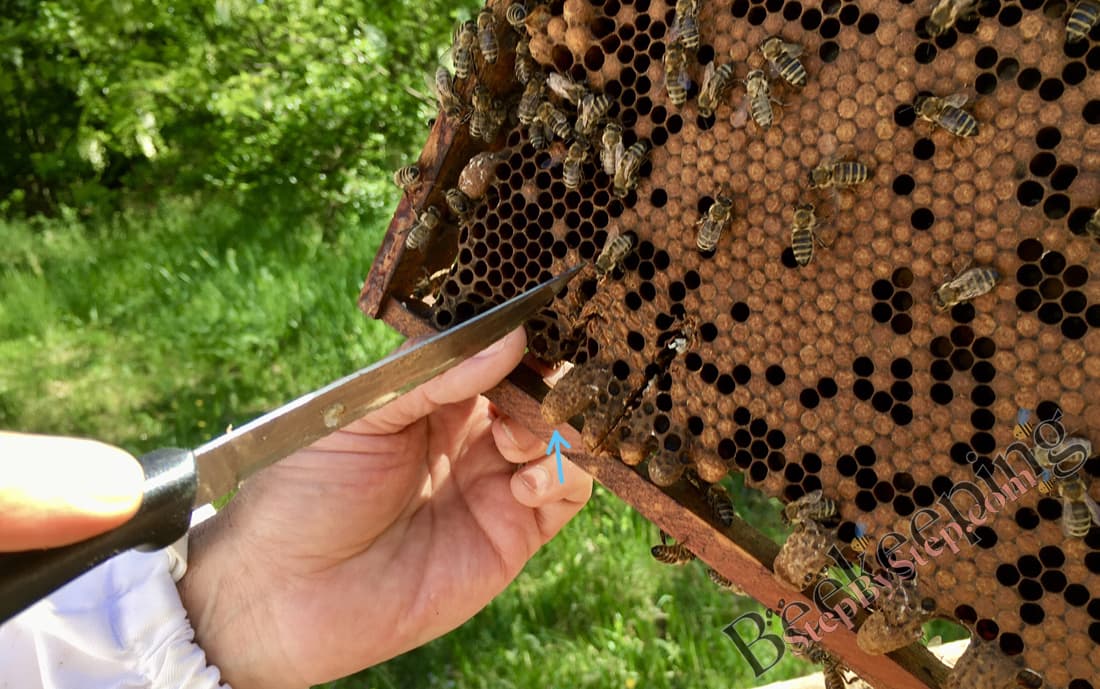
4Repeat steps 2and 3on another queen cell - you can put one queen cell in the beehive but it is safer to put two, because if one of them fails, there will be another one.
5Close the hive with the queen cells - put everything back in its place
6Put the queen cells in cages or wrap them in aluminum foil. You can secure the foil with tape, if needed.
Be careful not to damage the queen cell. If that happens, don’t panic. Choose another queen cell and try again. Things get easier with some practice.
Introducing the queen cell in the hive witch needs new queen - step by step:
1Open the beehive in which you are going to place the queen cell - the queen cell should be placed in the brood box which has the most brood (and bees).
2Cover the queen cell with honey - it is not necessary but the bees will accept new queen cells more easily if you do that.
Use the honey from the hive in which you are placing the queen cells. Use the hive tool to scrape some honeycomb with honey and cover the queen cell with it.
3Attach the queen cell on the frame with the brood
1Pull out one frame from the center of the brood
2Attach the queen cell - put the queen cell on the upper half of the frame with brood because temperature for growth is slightly better there.
![]() Queen cell cage usually has an extension which is used to stick the queen cell in the honeycomb, so simply stick it in the suitable place on the frame
Queen cell cage usually has an extension which is used to stick the queen cell in the honeycomb, so simply stick it in the suitable place on the frame
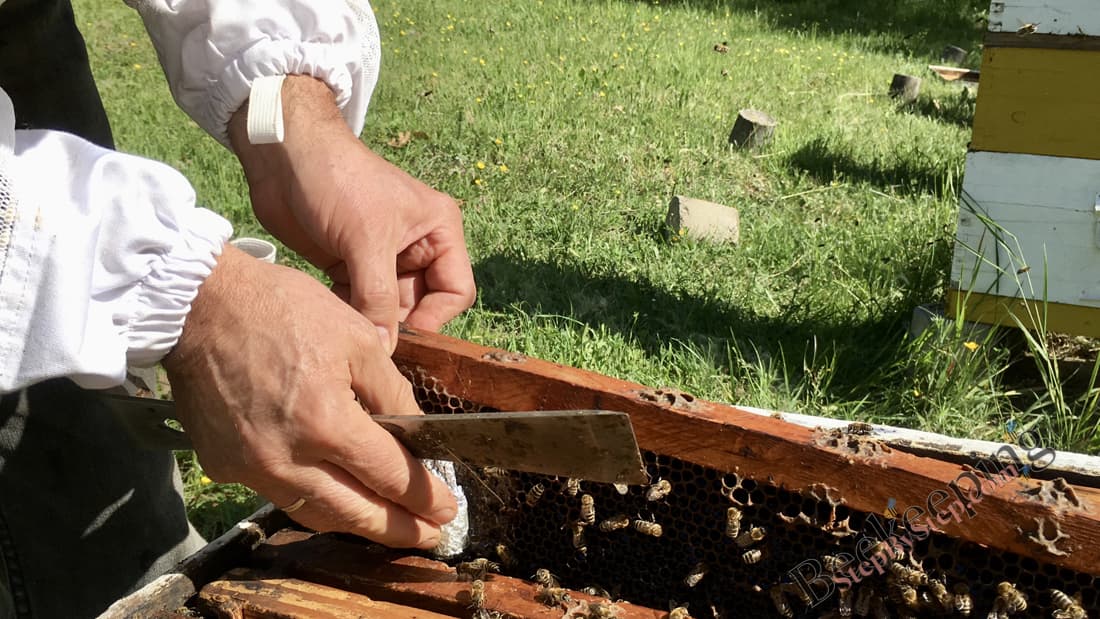
![]() If the queen cell is in foil, by using the hive tool scrape a small surface of the honeycomb thus making a small dent. Place the queen cell in that dent. When you put back the frame in its place, the queen cell will stay stuck between two frames.
If the queen cell is in foil, by using the hive tool scrape a small surface of the honeycomb thus making a small dent. Place the queen cell in that dent. When you put back the frame in its place, the queen cell will stay stuck between two frames.
4Put the frame carefully back in its place so that the queen cell stays between two frames
5Close the beehive and don't open that beehive in the next 20 days.
6After that period, inspect the hive to see if new queen has emerged and start laying.
Detailed steps - Basic Hive Inspection.
Note: some queens need more time to start laying and some less.